🧊 Cold Plunging: Step-by-Step Beginner’s Guide
Thinking about taking the plunge? Here’s a straightforward beginner’s roadmap to help you start cold plunging safely and confidently — whether you’re using a cold shower, tub, or jumping into Nordic-style icy waters.
✅ Step 1: Understand the Basics
Cold plunging means immersing your body in cold water (0–15°C / 32–59°F) for a short period of time.
Start with the mindset that you’re building tolerance over time — not chasing extremes on day one.
🚿 Step 2: Begin with Cold Showers (Days 1–7)
- At the end of your normal warm shower, turn the water cold for 30 seconds.
- Breathe slowly: in through the nose, out through the mouth.
- Gradually increase cold exposure time to 1–2 minutes over the course of a week.
💡 This helps your nervous system adapt and builds mental control.
🛁 Step 3: Move to a Cold Tub or Barrel (Week 2+)
Set up a simple plunge tub:
- Use a clean bin, barrel, or bathtub
- Fill with cold tap water (10–15°C / 50–59°F)
- Add ice if needed to lower the temperature
Start with 1–2 minutes of full body immersion (up to the neck if comfortable), and work your way up to 3 minutes max.
✅ Tips:
- Focus on your breath (4-6 seconds inhale, 6-8 seconds exhale)
- Don’t tense up — stay calm and still
- Set a timer, and have a friend nearby if possible
🧠 Step 4: Know What You’re Feeling
Expect:
- Fast breathing at first — that’s normal
- Tingling or burning sensations in the skin
- A feeling of “cold panic” — which fades with practice
💡 The goal is to stay mentally calm while your body experiences cold stress.
🔄 Step 5: Repeat 3–5 Times a Week
You don’t need to plunge daily to see benefits.
Aim for 3 cold exposures per week, each lasting 2–3 minutes, in water below 15°C.
🧊 Experienced plungers often use 4–10°C water, but that takes time and training.
🌡️ Step 6: Try Colder Water When Ready (Optional)
Once you’re fully comfortable in 10–15°C water, you can gradually try colder temps (4–9°C), with caution:
- Reduce time (start at 1 minute)
- Never push through numbness or pain
- Always warm up immediately after
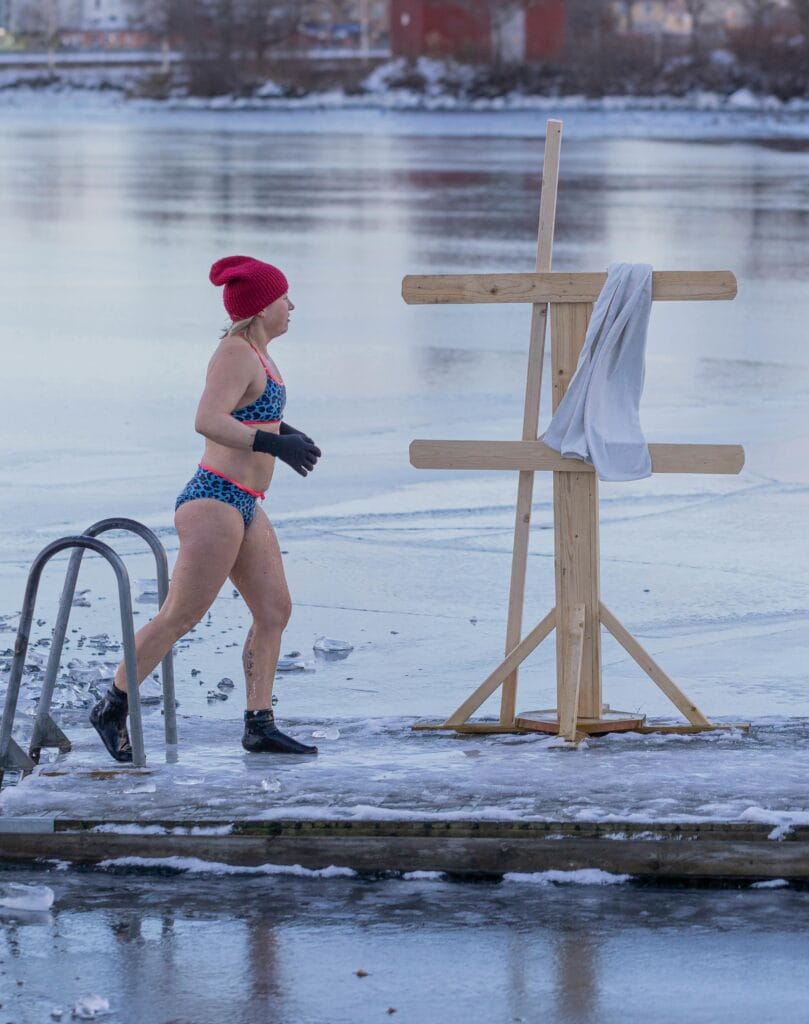
For ice plunges (0–3°C), only proceed after weeks or months of consistent training, and never alone.
🔥 Step 7: Warm Up the Right Way
After plunging:
- Get dry and dressed immediately
- Move (light exercise, walk, squats)
- Sip something warm (tea, bone broth, etc.)
- Avoid hot showers right away — let your body reheat naturally if possible
⚠️ Cold Plunge Safety Summary
- ❌ Never cold plunge alone
- 🩺 Talk to your doctor if you have heart, respiratory, or blood pressure conditions
- ⏱️ Keep plunges under 3 minutes when starting
- 🧠 Listen to your body — calm discomfort is good, but dizziness, numbness, or pain = STOP
🧊 In Summary: Your Beginner Cold Plunge Routine
| Week | Method | Time | Water Temp |
|---|---|---|---|
| Week 1 | Cold Showers | 30–90 sec | ~15–20°C |
| Week 2 | Tub or Barrel Plunge | 1–2 min | 10–15°C |
| Week 3–4 | Progress Exposure | 2–3 min | 8–12°C |
| Ongoing | Maintain or challenge | 2–3 min | 4–10°C |
| Optional (Advanced) | Ice Dips | ≤ 90 sec | 0–3°C |
🔑 Keywords:
- cold plunge for beginners
- how to start cold plunging
- safe cold water immersion
- cold water therapy at home
- cold plunge step-by-step
- beginner cold plunge routine
- cold exposure benefits
- cold therapy breathing techniques
- cold plunge safety tips
- cold water immersion guide
- how long to stay in a cold plunge
- cold plunge temperature range
- Nordic cold water practice
- ice bath for mental resilience
- cold plunging health benefits